Model M Refurbishment
I recently went to the local freegeek and picked up an old Model M 1391401 for a STEAL. Part way through my USB upgrade, I found that not all great deals are created equal. While the condition of the plastic and electronics seemed pristine, there was a full cup of coffee poured into the bottom of the keyboard and congealed. I am assuming this happened about 20 years ago or so, and I would later discover that the mess had crystallized into a horrific and conductive smear on the bottom trace on the key membrane.
Now, on a lesser keyboard, I would have tossed it in the garbage and started over with a new one. This keyboard however, was a model M. It deserved better.
I wasn’t happy just getting it working again either… I wanted to plug this thing into my laptop, with no PS/2 ports. Adapters weren’t on the menu either. I HAD TO HAVE native USB HID compatibility.
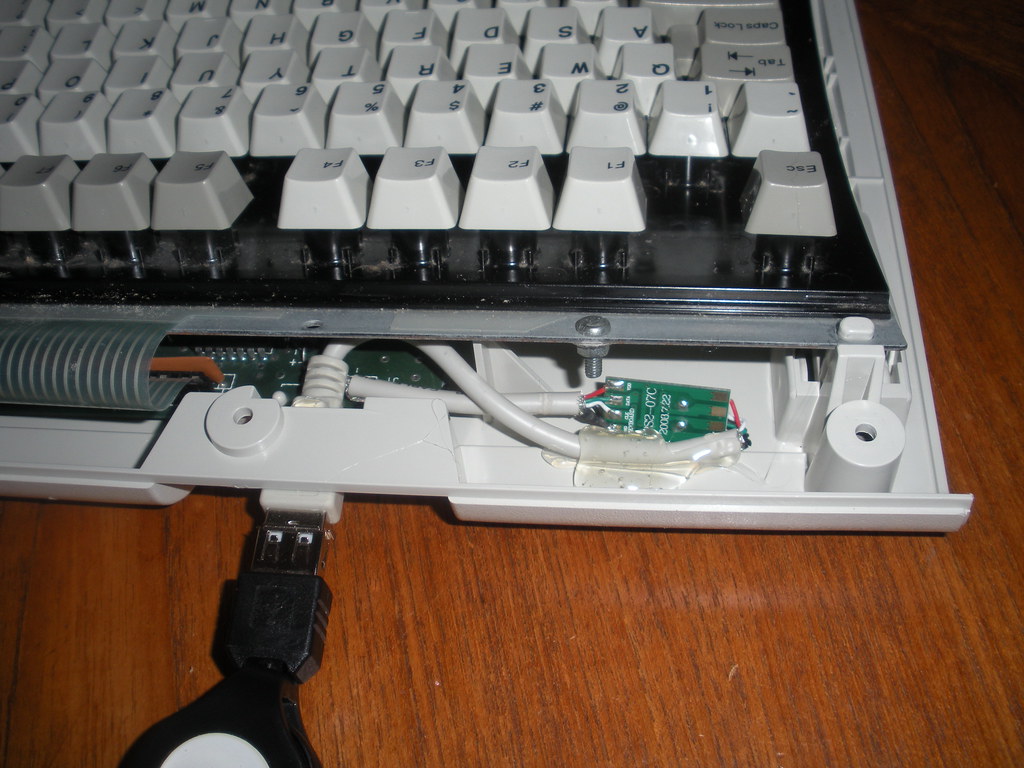
First thing first, and not yet knowing that the membrane was borked, I did the USB hack. I picked up a usb converter dongle for $15 at the local sales goon shop electronics store, and tore it apart to get at it’s delicious center. After that, soldering into the original controller board was pretty easy.
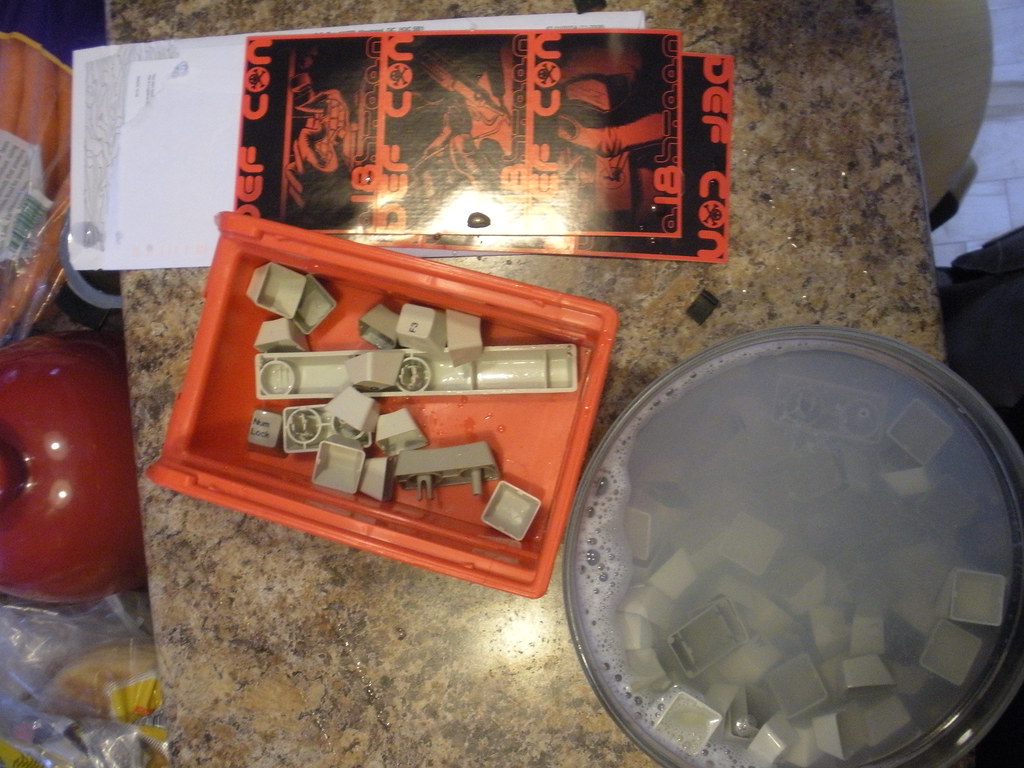
Next step was to get the keyboard cleaned up. The process was too disgusting to record in it’s entirety. I had to use q-tips, citrus degreaser, TSP, and a lot of elbow grease to get the nasty coffee crystals out.

Once this was done, I plugged it in, and everything worked GREAT, except for the non-functional space, b,n,/,left,down,right keys. ARGH!!!
So… time to pull a screwhack. Getting at the corrupted membrane inside the keyboard required taking off the heavy metal plate, and cutting off the plastic rivets that hold the whole thing together. This unfortunately is a one time only process. Re-assembly requires threading each of the dozens of holes and a lot of time. The entire process is covered in more detail here. Once I was done, there were nice hardy #4 screws holding everything together…
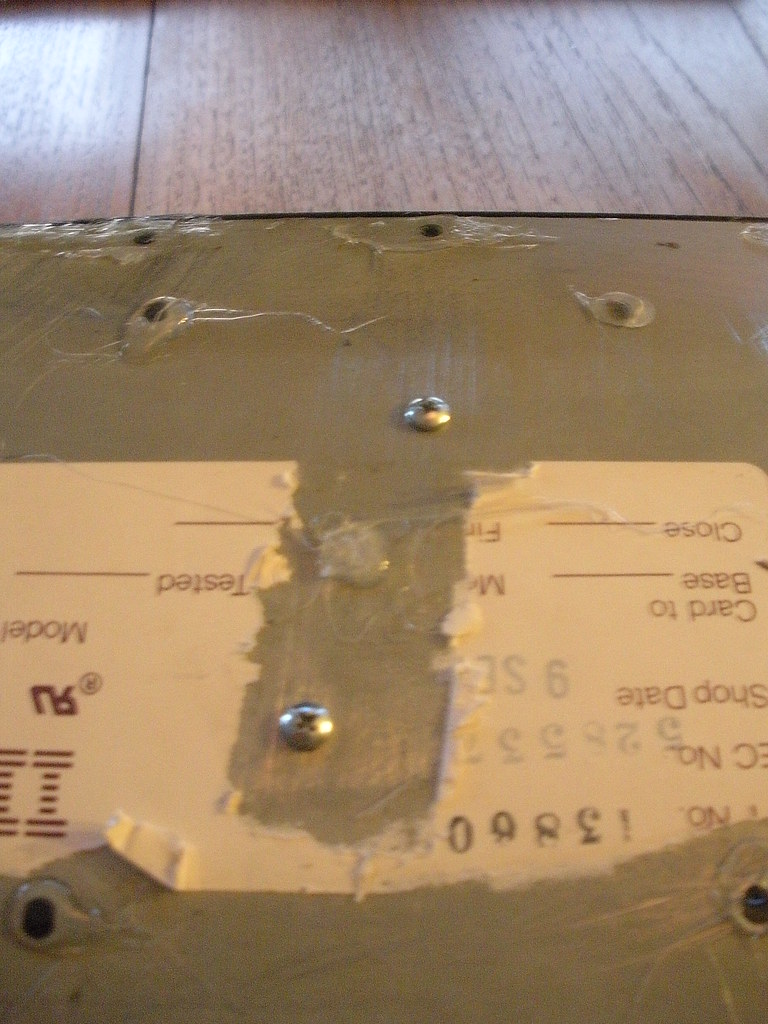
And no, your eyes do not deceive you; I did in fact use hot glue to hold things in place while I drilled, tapped, and screwed it all together.
Nearly done…
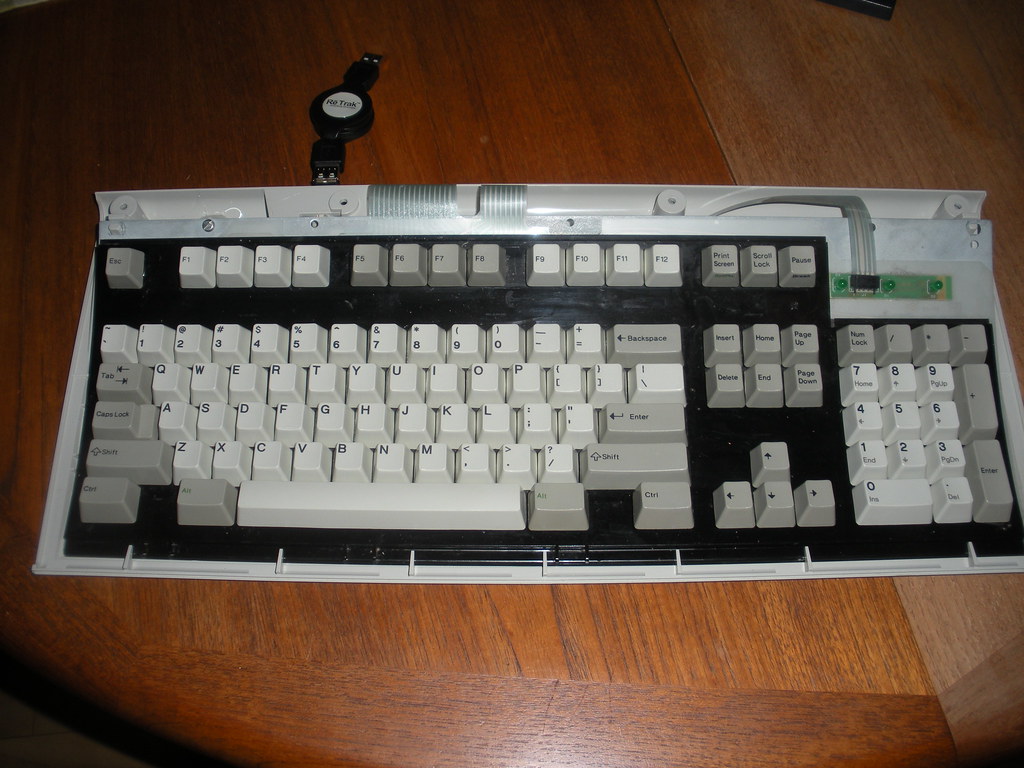
And that’s all she wrote. I dropped the cover back on top, and it fired up like it was brand new (which it should, with a 50Million cycle per key expected lifespan). My wrists and fingers will give up long before this keyboard does.